
Summary #
A stored XSS vulnerability within the Silverpeas Document management application. By intercepting the requests send while uploading a file and replacing the X-FULL-PATH header with an XSS payload, the payload gets executed once clicked on the preview button.
General information #
Description: The Document management file upload feature of Silverpeas 6.4.6 is vulnerable to Stored Cross-Site Scripting (XSS).
Versions Affected: 6.4.6
Version Fixed: 6.4.7
Researcher: HEKK.ONE
Proof-of-Concept (POC) Exploit #
This exploit works when an authenticated user has a workspace available with the Document management application and has the Managers role , Publishers or Writers within that application. Ideally as a Manager, otherwise validation of the upload could be required. Exploit below is written from the Managers role perspective.
Document management application #
Login as the user that is a member of a workspace with the Document management application available and in the Managers role. Select the space available and then the Document management application.
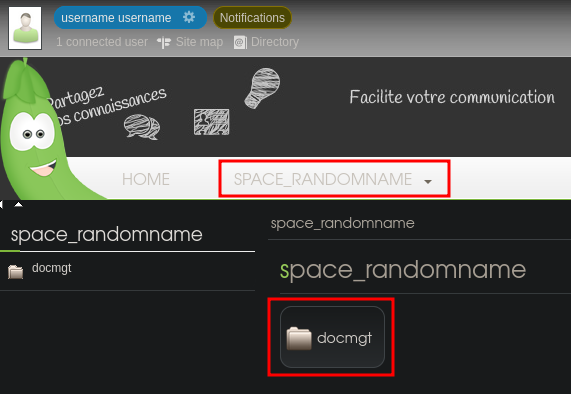
Now click on Add a file. Set proxy to intercept requests (ex. CAIDO/BURP) and upload a file by clicking on Browse (ex. jpg-download_592324-17349-730237325.jpg) and click Open. Once clicked the application should hang like this:
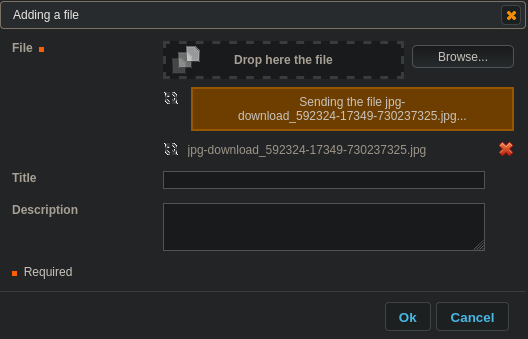
A POST request is send with this header: POST /silverpeas/services/fileUpload/verify HTTP/1.1, send this one through. The next POST request is this: POST /silverpeas/services/fileUpload HTTP/1.1.
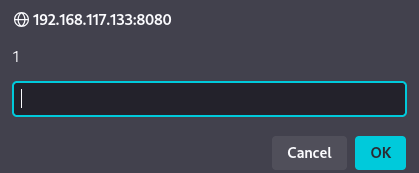
In this request, replace the X-FULL-PATH header with this URL encoded payload: X-FULL-PATH: %3Cimg%20src%3Dx%20onerror%3Dprompt(1)%3B%3E and forward the request. Disable the intercepting proxy. Below screen should be the result.
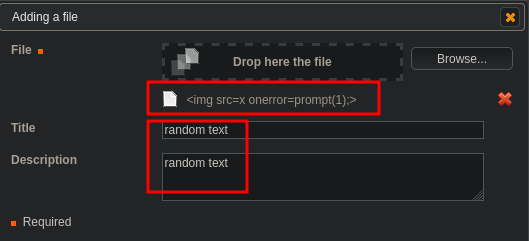
Add the random text in Title and Description and press Ok twice. The uploaded file is shown, when you click on the preview icon the JavaScript is executed.
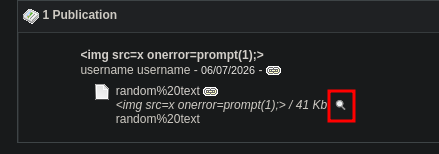
If the workspace or Document management application is not available install it using below.
Create workspace and add application #
Login as an administrator and click on the menu item Back office. Within the backoffice select Workspace & applications and Create a space.

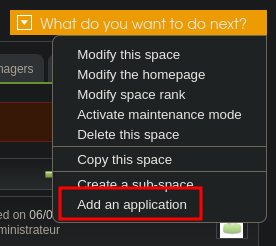
Fill in a random name for the workspace and click OK. To the right on the screen, select within the dropdown menu Add an application and select Document management, give the application a name (ex. docmgt) and select OK.
Once the application is created, add a user to one of the following roles (Managers/Publishers/Writers) by clicking on the tab, and selecting Edit to add a user in a specific role.
